Climbing Beginners Guide

Rock climbing is one of the fastest growing sports in the UK at present, due to it being a fun yet challenging way of getting fit. Whether you’re scaling walls indoors or tackling natural rock formations outdoors, climbing offers something for everyone.
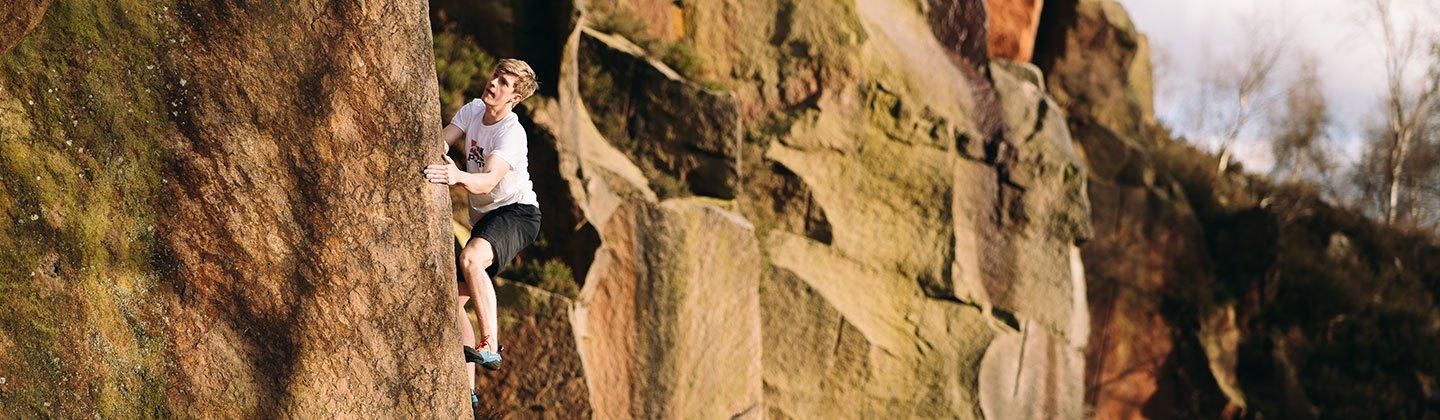
As a starting point, indoor climbing is a great way to learn and become comfortable in the sport, in the safest possible environment. Once you do head outdoors, make sure you go with an experienced climber, who can help you along your climbing journey. But before diving in, it’s essential to understand the three core disciplines of climbing: bouldering, top rope climbing, and lead climbing. Each has its own unique techniques, challenges, and gear requirements.
Shop All ClimbingThe Three Types of Climbing
All of the below disciplines can be started indoors. This is the safest environment to practice in while getting used to the new techniques and skills required to take your climbing outdoors. Climbing indoors before venturing outdoors allows you to build your confidence, so you feel comfortable when you do eventually decide to take your climbing outside.
Bouldering
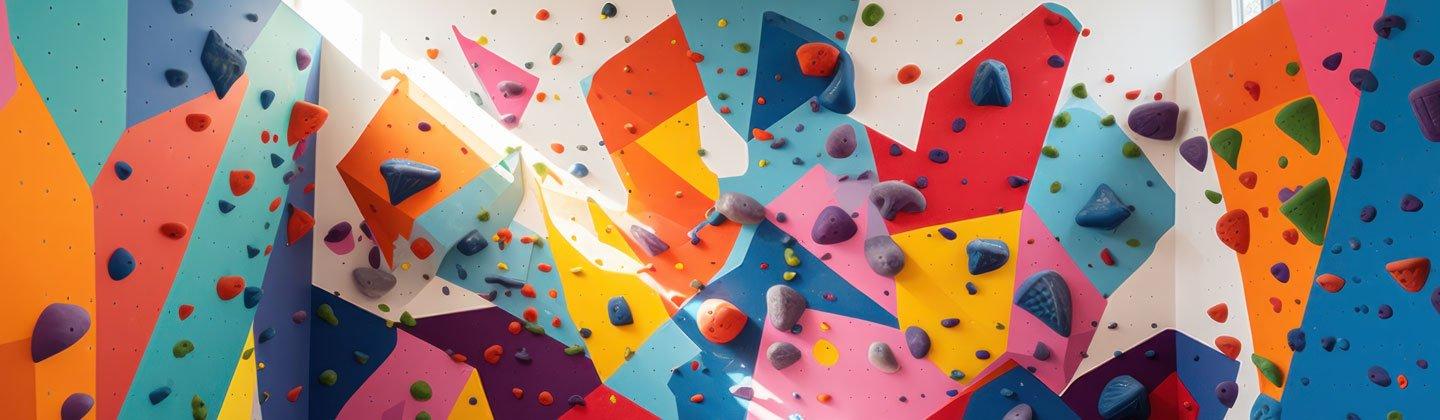
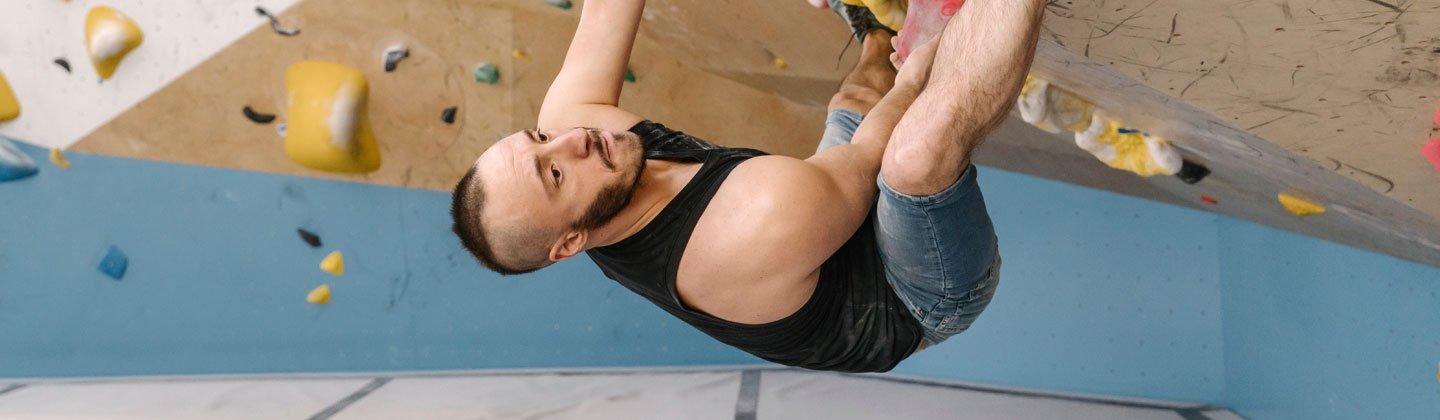
Bouldering is a form of rock climbing which takes place on walls much shorter than those involved in rope climbing, which means participants can climb freely without the need for safety features such as ropes or harnesses. For safety, thick mats on the floor called bouldering mats or crash pads sit below the wall to cushion any falls. The sport of bouldering focuses on climbs that require you to figure out the best way to get to the top of the route. The sport requires strength, good technique, along with decent problem-solving skills.
Top Rope Climbing
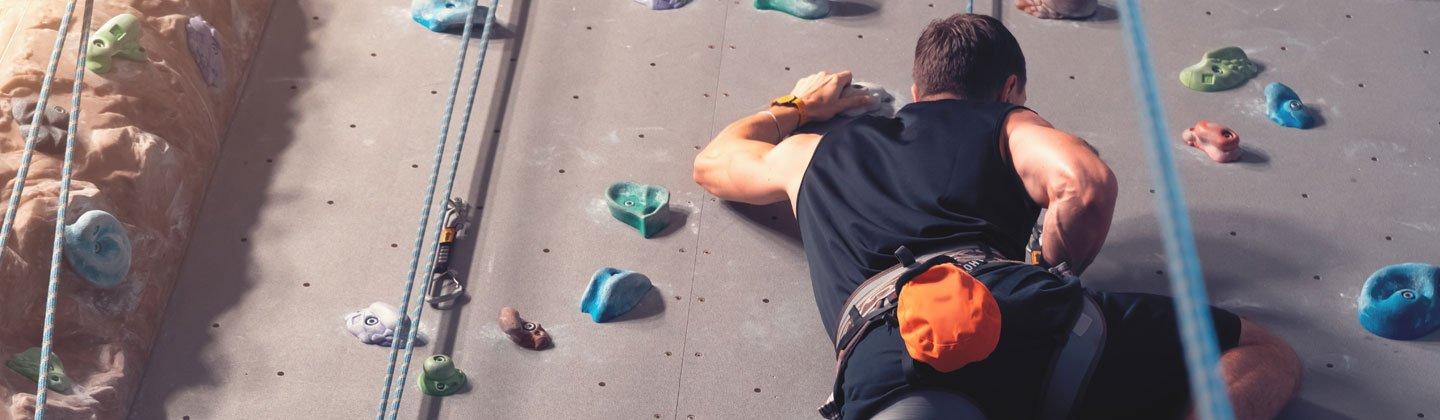
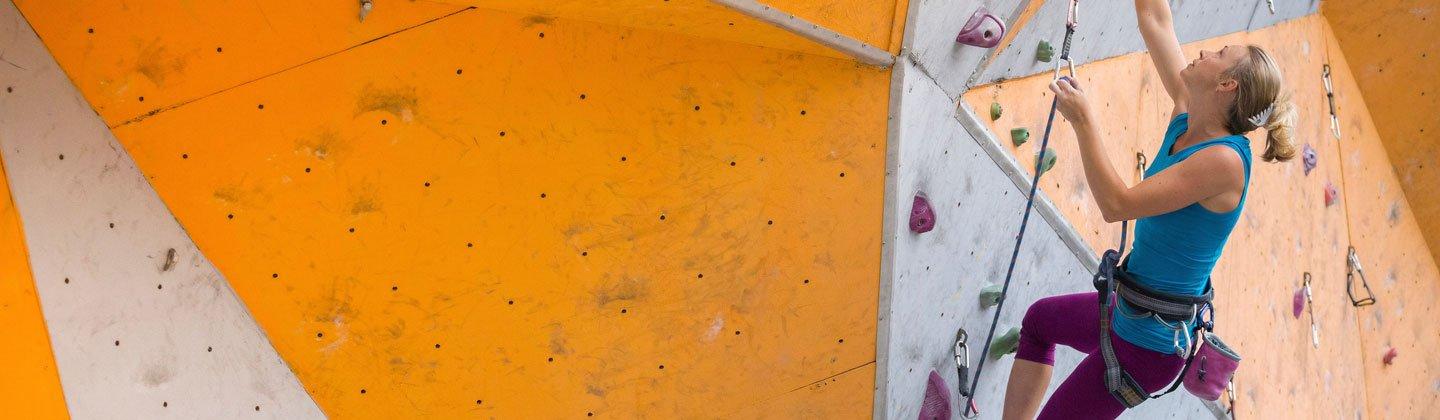
Top rope climbing is a form of climbing which allows you to climb higher than bouldering and requires you to be attached to a rope via a harness to offer protection in case of a fall. While you are attached to one end of the rope, the rope is passed through an anchor at the top of the wall, and the other end is attached to your climbing partner, known as a “belayer,” who will bring in the slack as you climb higher. Keeping the rope tight is necessary to minimise a potential fall and reduce injury risk. The skill of belaying is usually taught during a beginner rock climbing course.
Lead Climbing/Sport Climbing
Sport climbing, also known as lead climbing, involves climbing a wall without a rope anchored at the top, instead securing your rope through quickdraws (two non-locking carabiners attached by a sling) which are bolted into the wall along a pre-existing route. This is a more specialist form of climbing which is better for those with experience.
Essentials for Indoor Bouldering
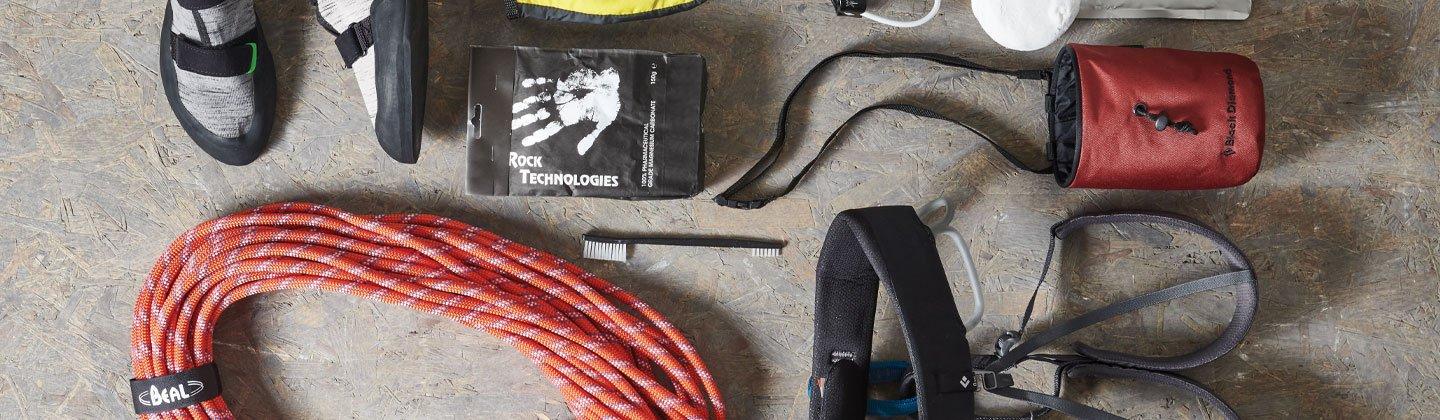
Climbing Shoes
Climbing shoes are purpose-built shoes which provide grip while on the wall. Most climbing shoes are tight fitting with a tight-fitting toe-box to allow for more precise placement of your feet on the footholds. Climbing shoes come in many different styles, but beginners should look to start out with a more comfortable, entry level shoe, rather than a more aggressive, tight-fitting shoe. Your toes should feel compressed within the shoe but shouldn’t hurt. Many climbers tend to wear shoes half a size smaller than their actual shoe size, to ensure a better fit which allows them to be more precise with their toe holds on the wall. Most climbing gyms offer rental shoes which you can use during your first few sessions, but eventually it will be worth investing in your own pair which suit you better.
Shop Climbing ShoesChalk and Chalk Bags
Chalk keeps your hands dry and helps you grip better, especially on more challenging holds.
Shop Chalk and Chalk BagsClothing
All you need in terms of clothing is something that is comfortable and flexible, to allow you to move freely while on the wall. It’s advisable to not wear any jewellery while climbing, as accessories such as rings could get caught in the holds.
Shop Climbing ClothingBrushes & Tape
Now this isn’t a necessity but may become more useful with the more experience you gain. A brush helps to clean holds which are covered in chalk, so that you can get a better grip of them while on the wall. You will need tape for wrapping up cuts and blisters which may form on your hands.
Essentials for Outdoor Bouldering
Bouldering Mats/ Crash Pads
If you’re looking to take your bouldering outdoors, you’re going to need to get yourself some bouldering mats to reduce injury risk if you fall
Shop All Bouldering Mats/Crash PadsEssentials for Top Rope Climbing
Along with all the above, you will also want to get yourself some extra gear for top rope climbing, including:
Helmet
An obvious addition, to protect your head from anything that may fall from above or in the event you hit your head on the wall.
Shop Climbing Helmets How To Fit a Climbing HelmetHarness
A harness is that attaches you to the rope securely.
Shop Climbing Harnesses How To Fit a Climbing HarnessBelay Equipment
This piece of kit will allow the belayer to control the rope as you climb, either removing slack or adding additional slack where necessary.
Shop Belay EquipmentLocking carabiner
This is used with the belay equipment, acting as the connection point between the belay device and your harness. A locking carabiner is used to prevent the gate from accidently opening.
Shop Screwgate CarabinersRope
This will keep you safe if you fall of the wall and will allow you to abseil down the wall safely. Ropes are usually provided for indoor Top Rope climbing by the climbing gym, but if you want to take it outdoors you will need to buy your own.
Shop Climbing RopeEssentials for Lead Climbing
As with the above, lead climbing will require:
Quickdraws
The quantity of these depends on the number of bolts on the route, or if you’re climbing indoors, your climbing centre or gym will have these attached to the wall ready for you to use.
Shop QuickdrawsGrading Your Climbing Routes
To understand the difficulty of a route on the wall at your climbing gym, you must understand the bouldering grades. The higher the grade, the harder the route is. Indoor bouldering gyms typically use the V or Font scale, but many climbing gyms utilise a colour grading system to help differentiate between the difficulty levels of each colour group.
Indoor boulder problems are put up by the climbing gyms route setters, who will try and test the route to determine the difficulty. With most routes being colour graded, there difficulty on the V or Font scale can vary. Here’s a breakdown of the scale:
Beginner
Intermediate
Advanced
Professional
Elite
Colour graded holds
If your local climbing gym utilises colour graded holds, speak with a member of staff at the climbing gym to understand how their system works.
Understanding the Types of Holds
The different types of holds you will see in climbing gym or centre have different names, so here’s a breakdown of what to lookout for:
Jugs
Large, easy-to-hold grips that are usually more beginner friendly
Crimps
Small edges that fit only your fingertips and require decent finger strength
Pinches
Just like the name, this is a pinch grip that require you to pinch the hold with your fingers and thumb
Slopers
Rounded holds without a defined edge. A good awareness of your bodies weight and where you are on the wall will help with this, rather than grip.
Warming Up and Cooling Off
Bouldering Mats/ Crash Pads
Warming up is extremely important before bouldering to prevent injury and ensure you perform at your best. Some problems will require you to get into some tough positions, so performing a decent warm up before climbing will help reduce any risk of injury during the session.
A full body warm up should be performed, focusing on your fingers, wrists, forearms, shoulders, back, hips, ankles and upper legs. This should be a dynamic warm up, to get blood flowing around the body and to help prepare you for the session ahead.
Once you have completed this, don’t just head onto the harder climbs of the session, work your way up to this, to ensure your body is fully prepared to tackle some of the harder climbs.
Stretching after a session is as important as the warmup. This will help you recover and can lead to less muscle soreness in the following days. A 10–15-minute cool down will be enough to help you feel relaxed following your climb.
Technique
Bouldering is a skill and technique-based activity, so just being strong will only get you so far. Understanding the basics to your technique can help you progress quicker during the first few months of your bouldering career.
Use your legs: A common mistake amongst beginners is relying too much on their arms and upper body strength. This mistake can cause you to fatigue quicker, so utilising your legs can help take some of the strain away from your upper body.
Straight arms: Climbing with bent arms can be incredibly tiring, as you’re utilising more of your muscles than is necessary. Keeping your arms straight will help you conserve energy when bent arms aren’t required.
Weight shifting: Moving your weight from one foot to another can help you stay in control when on the wall. Practice this on some of the easier routes before taking it to some of the more technical routes.
Take your time: One of the most common mistakes you’ll see is not taking your time. Climbing fast can cause you to make mistakes. Take your time and focus on each movement.
Body position: Keep your hips close to the wall where possible to help reduce strain on your upper body.
Knot tying: Now this only applies to tope rope climbing, it’s useful to practice the figure 8 knot-tying technique. This will be taught at your induction session, but if you are struggling with the technique, an instructor at your climbing gym can always help you out.
Falling Safely
Falling from the wall is guaranteed to happen and expected when climbing, so knowing how to minimise the impact of your fall to keep yourself safe and injury free is vital.
Land with bent knees: Bend your knees to help absorb the impact when landing.
Tuck your arms: When you fall, falling with your arms out or behind you can lead to injuries of your wrist’s, arms and shoulders. Tucking your arms in when falling will prevent this from happening.
Roll backwards: Once you have absorbed the landing with your knees, you can further reduce impact by rolling backwards, helping to reduce the chance of injury even more.
Be aware of others: As much as it’s the responsibility of others to not walk within your falling zone while climbing, always look around you to avoid falling onto someone else
Falling while tope rope or lead climbing
Keep an eye on your rope: The last thing you want when lead climbing is tangling your rope as this can put you at higher risk of injury. With this in mind, you should always:
- Keep the rope between you and the wall.
- If the rope has gotten behind your leg, step out and over the rope to ensure it is back between you and the wall.
- If the rope runs off to one side, make sure it is closer to the wall than you.
Communicate with you belayer: Communication between the belayer and you is key to safety. The belayer should be keeping a close eye on you while you’re on the wall in case of an emergency but shouting out commands such as “falling!” and “watch me!” will help you belayer react quicker in the event that you do fall.
Relax when you fall: : Tensing up can cause the fall to feel worse when the rope becomes fully extended.
Look down for obstructions in your fall path
Don’t push off the wall unless there’s a clear obstruction
Don’t grab anything on the way down: reaching out for the wall on your way down can lead to your finger catching on one of the holds.
Top Tips
Staying Safe
Leave your water bottle off the mat and phone in your locker, and never walk beneath someone who is climbing, as they could fall off at any moment.
Tips for tackling a Bouldering problem
Each route or “problem” is unique to itself. Part of the magic of the sport is the problem-solving aspect in figuring out how to approach each climb.
Plan your route: Look at the route to understand the holds and visualise how you are going to tackle them. You should look for a clear path from start to finish.
Break it down: Break the route down into sections and identify any difficult points in the route (known as the “crux”) where you are likely to struggle. Here you can plan for these parts individually.
Don't rush it: Focus on precise and controlled movements. Moving too quickly through a problem can cause errors.
Take a rest: Not resting between attempts will likely cause fatigue and poorer performance. Take a step back, allow your body to recover and re-analyse how you’re going to tackle the problem.
Common Mistakes for Beginners
Skipping the warm-up: Not warming up is likely to result in injury, so make sure you spend 10 minutes warming up before each session.
Overusing your arms: Relying heavily on your arms will lead to exhaustion very quickly. Think about using the rest of your body to distribute your weight evenly, and reduce strain on your arms.
Ignoring footwork: Utilising good footwork is one of the best ways to ensure progression. Good foot placement can make a climb feel much easier.
Advancing too fast: A lot of beginners attempt to move through the difficulty scale too fast, but it’s much better to practice on easier routes to train your technique and strength.
How to Progress
Like with anything else, the longer you spend practicing, the better you are likely to become. Here are some tips that can help to supplement this along your journey:
Speak to and watch other climbers: Observing and speaking to other climbers will give you an insight into how they tackle their climbs, to give you inspiration for yours. Plus, they may even give you some tips!
Work on your weaknesses: If you notice you struggle with slopers, then train them. It’s likely some of the easier routes will utilise the hold you are having difficulty with, so go back a few steps and train your technique, which will gradually help you to build the capacity to tackle the holds you’ve been having problems with.
Cross-train: Training in the climbing gym which is focused on improving climbing strength will help you perform better on the wall.
There you have it—that’s everything you need to get started and enjoy your climbing journey! It can feel overwhelming at first, but climbing is one of the most rewarding sports once you start to see your progression.
If you’re new to climbing, we highly recommend trying indoor climbing first. It’s a safe and controlled environment to learn the basics and build your confidence. When you’re ready to head outdoors, always go with someone experienced, especially if you’re a beginner. Safety first ensures every climb is a fun and memorable one!
Take your time, enjoy the process, and most importantly—have fun climbing!
Shop All Climbing