0Basket0Item: £0.00
Save £50 on retail prices by being a member
Become a member now or enter your membership number in the basket. More about Membership.
Enjoy your members only prices!
Total items:0
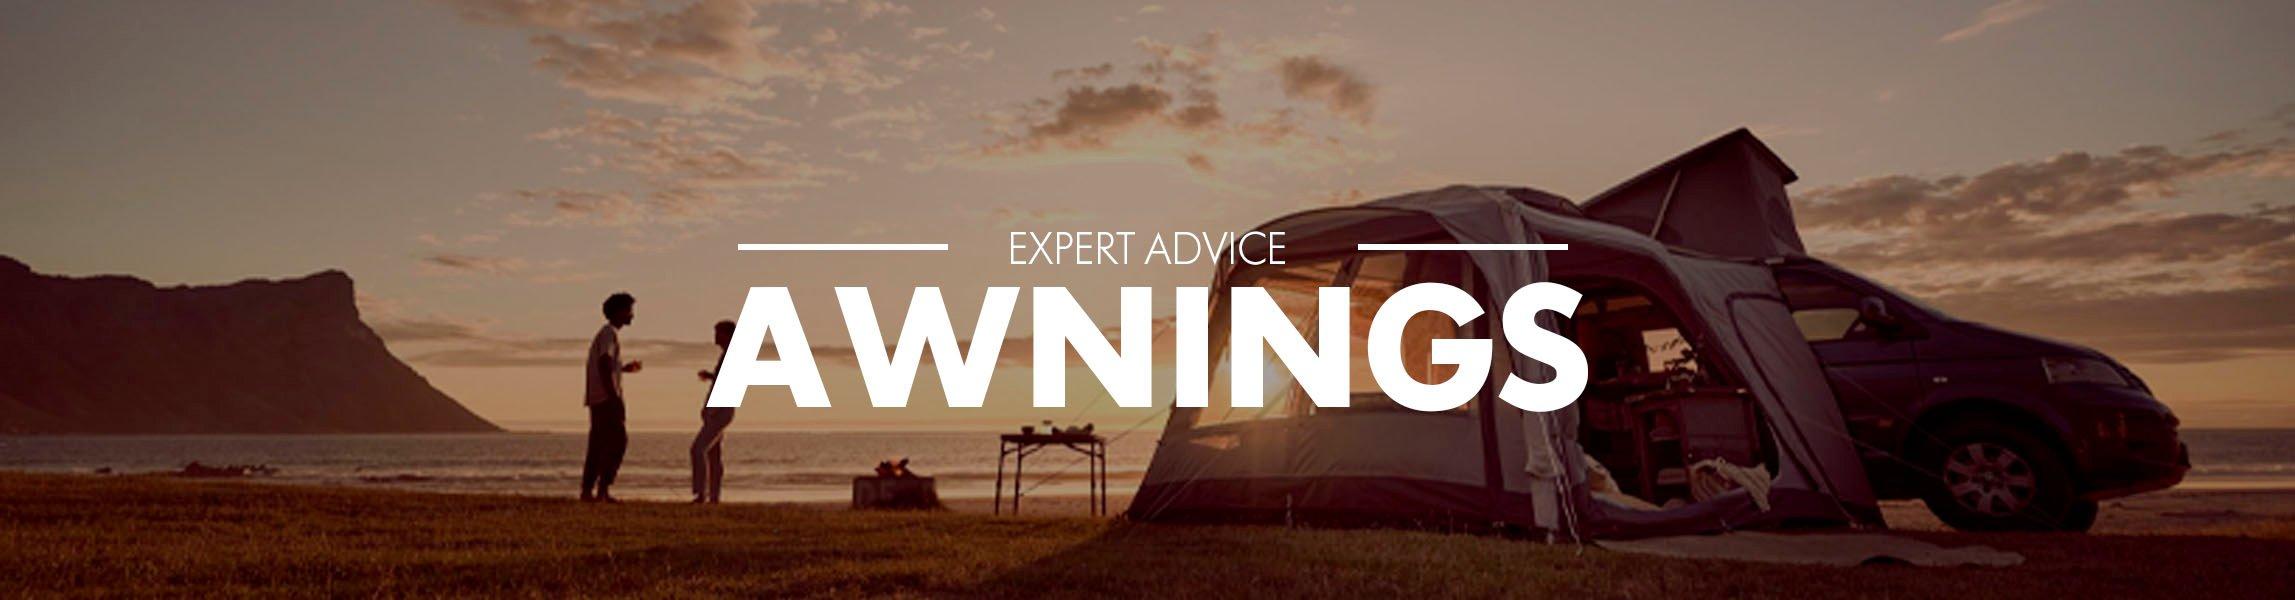
A campervan awning is just like a tent. It attaches to your campervan, providing additional living space, so that you can make the most of your van-life getaways! Whether you’re off on a family adventure, a weekend of exploring, or fancy pitching up for the day for some peace and quiet, an awning is a great way to create more space and enjoy even more of the outdoors!
Are you thinking about buying a campervan awning but not sure where to start? Take a look at the video below for our top 5 tips when it comes to purchasing awnings!
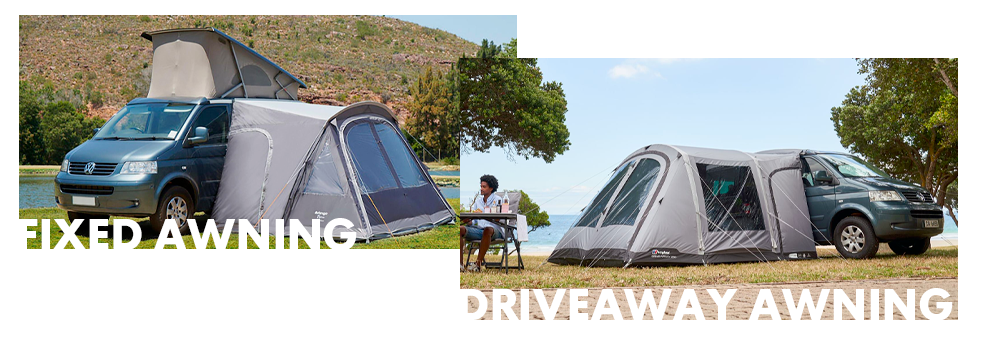
You may wonder what the difference is between a driveaway awning and a fixed awning. Well, the clue is in the name!
Driveaway awning: allows you to easily ‘drive away’ and go out for the day in your campervan, leaving your awning behind (like a tent). The awning is temporarily attached to your campervan or motorhome to create an entrance tunnel into or out of your vehicle.
Fixed awning: is permanently attached to your campervan, making it ideal for those who prefer to stay at camp. The fixed awning needs the support of your campervan, so cannot be left free standing. However, the multiple doors provide flexibility to get in and out of your awning and van!
Whichever you choose; park up, pitch your awning and you’re set for your holiday!
Fitting an awning to your campervan can be tricky if you don’t know how to do it - that’s why we’ve put together a step-by-step video to guide you through the process!
There are a handful of different ways to attach an awning to a campervan or motorhome. The simplest and slickest way is with an “Awning Kit”. The kit comprises of two parts: A Kador Strip (sometimes written “Keder”) and multiple “Figure of 8” strips. The Kador Strip slides into the awning rail (or Reimo rail), a C-shaper channel mounted to the roof on the door side of the van or integrated into the roofbars. The plastic figure of 8 strips are then used to link the Kador Strip to the awning. It’s a simple solution and makes attaching to the awning a painless ordeal. Take care to match the Kador Strip beading diameter to your awning rail diameter and your figure of 8 strips’ channel diameter to the awning – variations on 6mm and 4mm beading diameters are the most common. Most Awning Kits are 3m in length which is ample for most vehicles and can be cut to size.
If your van doesn’t have an Awning Rail and you’re not interested in an aftermarket installation, then there are two options: “Pole and Clamp” and the provided storm straps/guy lines. The storm straps or guy lines are passed over the roof of the van and pegged on the other side. Easy, but not particularly tidy. For more old school vans with deep gutter roofs a “pole and clamp” setup works fine. The awning, which must be specifically designed to be compatible with a pole and clamp setup, is attached by small clamps to the vehicles roof gutter.
Take a look at our video below to find out exactly how to pitch a driveaway awning:
Note: This video demonstrates exactly how to pitch an air driveaway awning. If your awning has poles, the method is the same - just instead of inflating your beams with air, simply pop the poles in to create the structure! And if your awning is fixed, the method is the same apart from the tunnel (this is mentioned in the instructions below).
Fitting an awning to your campervan can be tricky if you don’t know how to do it - that’s why we’ve put together a step-by-step video to guide you through the process!
If you want to leave your driveaway awning and head out for the day:
Note: as mentioned above, if your awning is fixed, you can’t leave it behind and head out for the day as it cannot be left free-standing.
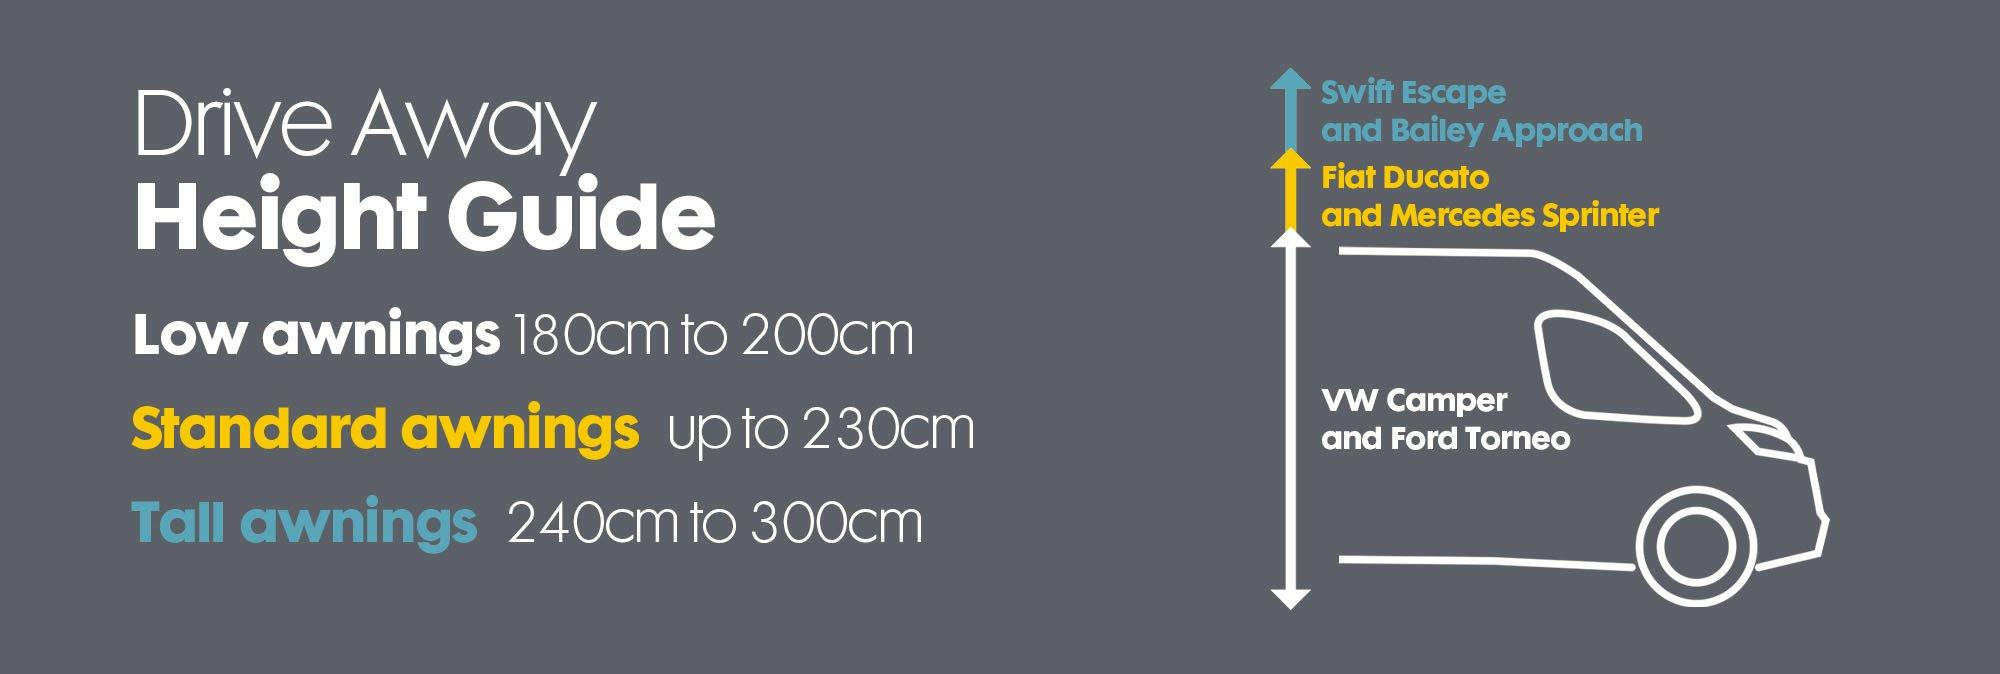
Campervan awnings come in two different orientations - they can either be pitched at the back of your van or at the side of your van. The choice is yours!
Awnings come in different heights too. Below you can see the different variations of heights and the campervans which would be ideal for each…
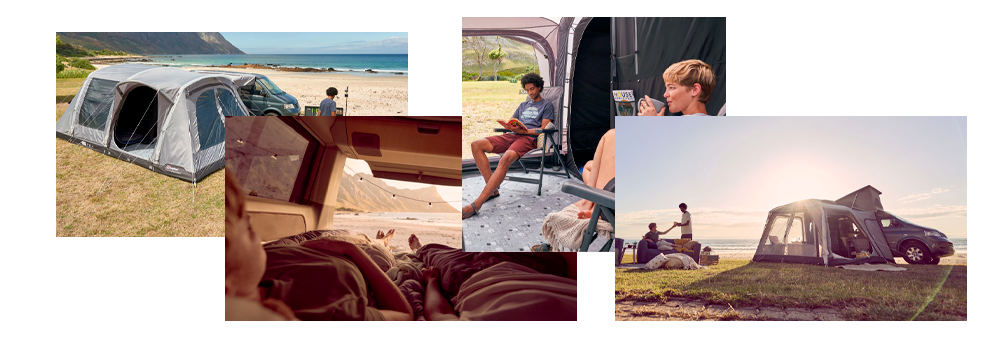
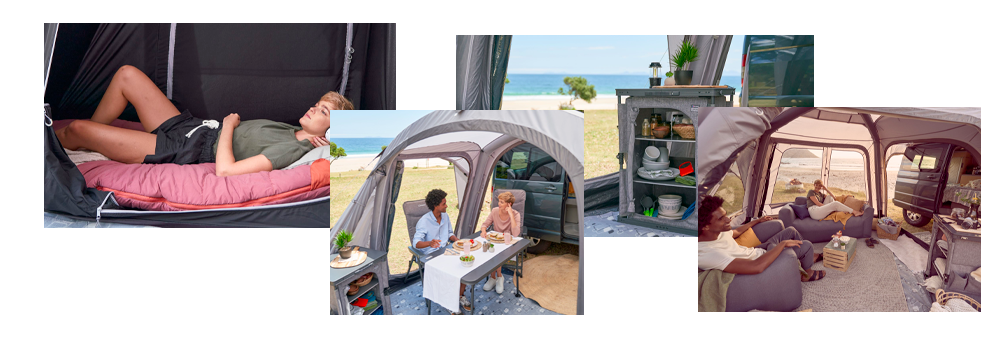
Awnings provide additional space to attach to your campervan and can be used however you like!
Here are some common ways to use an awning:
The options are endless! There’s no right or wrong way to use your awning, they are incredibly versatile and add a real feel of comfort for trips away.
If you’re looking to buy an awning to create additional space for your campervan holiday, then check out our range here at GO Outdoors!