0Basket0Item: £0.00
Save £50 on retail prices by being a member
Become a member now or enter your membership number in the basket. More about Membership.
Enjoy your members only prices!
Total items:0
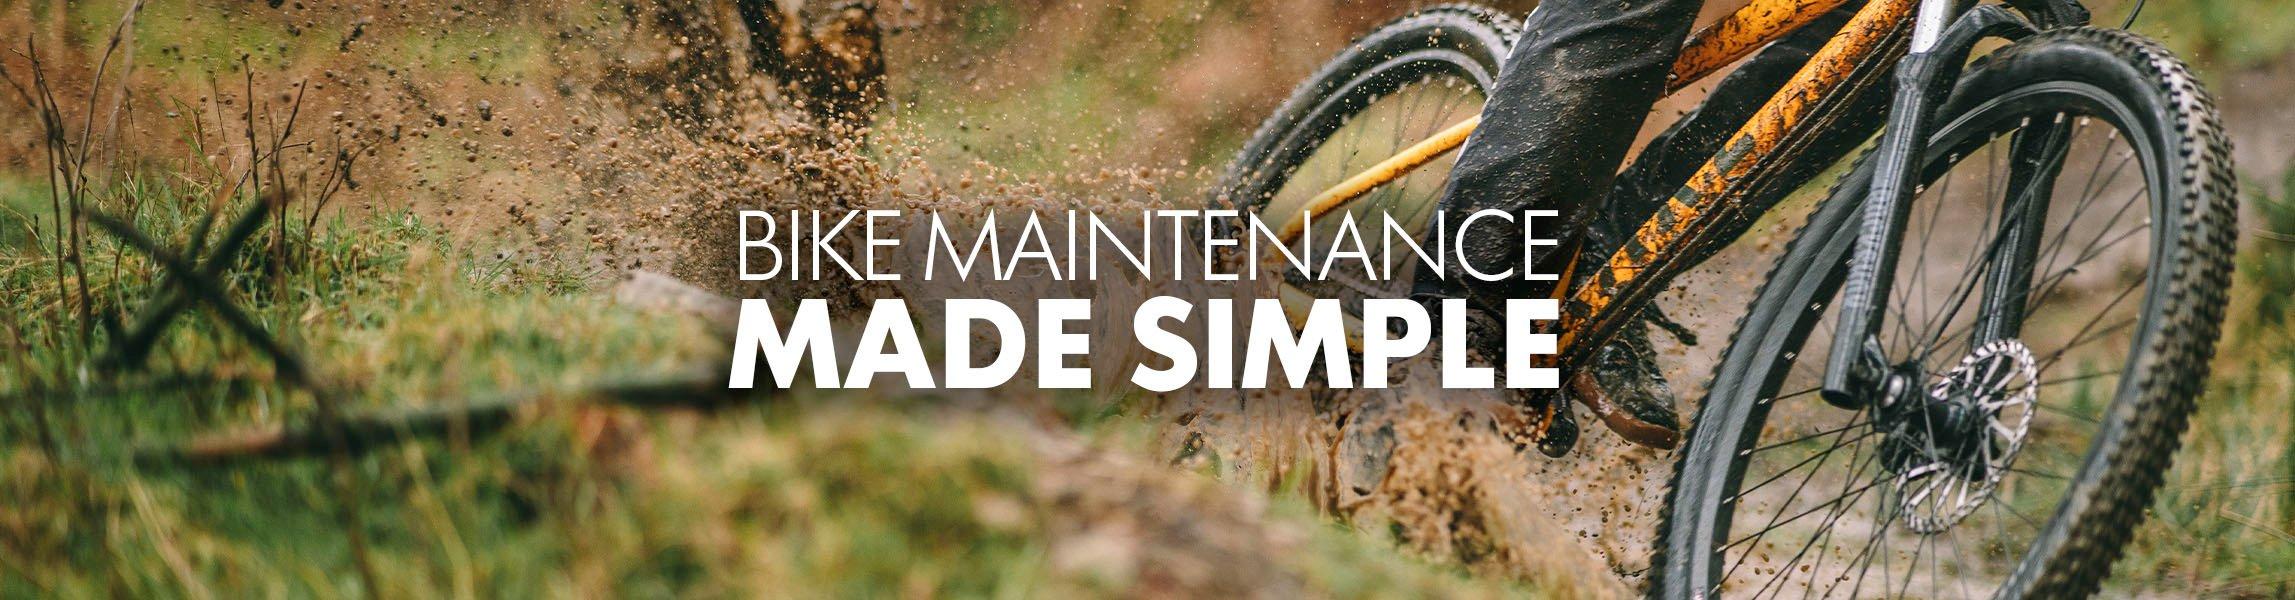
Your bicycle needs regular cleaning and maintenance to keep it running at its best. Keep on top of these basic chores and you can avoid costlyrepairs and increase the lifespan of your bike.
At Go Outdoors, we’ve got plenty of products to take to make bike maintenance quick, easy, and affordable. This guide outlines all the essentials.

If you look after your bike, it will run smoother and last longer. A regular maintenance regime is key.
Neglecting your bike can result in excess wear and tear, or even complete failure. It's best to keep on top of bike maintenance and avoid having to replace componentry.
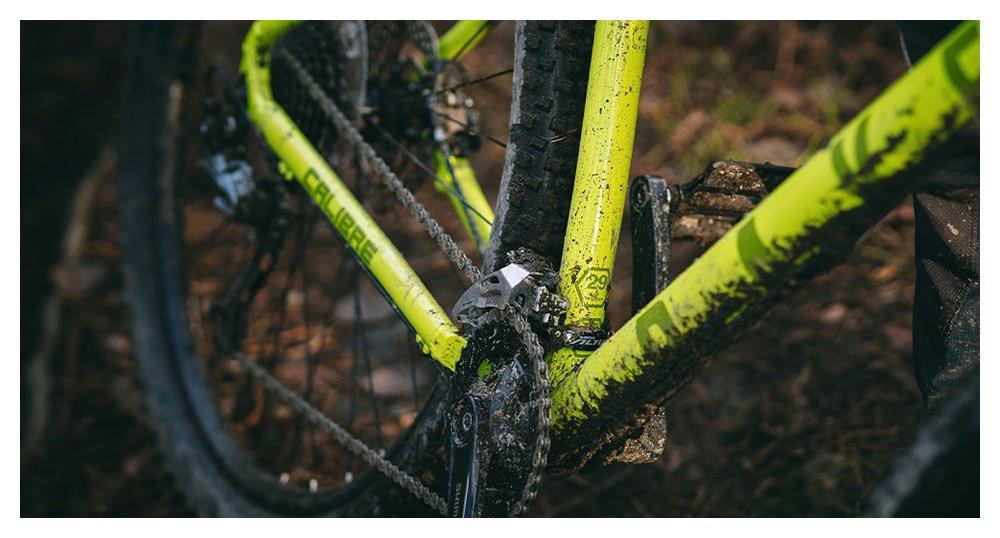
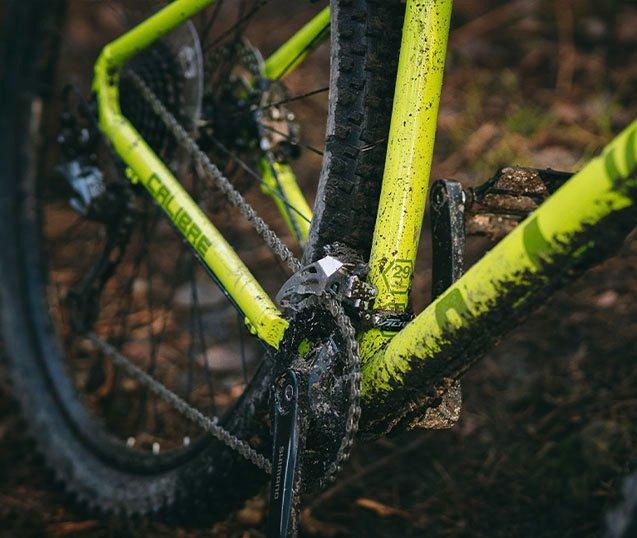
Mud, gravel, and other dirt can make for an abrasive mix, and when it begins to clog the moving components of a bike, friction occurs.
This friction can have two primary effects:
Firstly, it will slow you down, as it makes it harder for moving parts to operate effectively.
Secondly, it will start to wear down various components and cause lasting damage. Squeaks and scraping sounds are usually a warning sign that something is up.
Keeping your bike clean will help it run smoothly, quietly, and efficiently as well as preventing friction damage.
Follow these five steps and you will get thousands of miles of reliable cycling from your bike. Click the links to skip to the relevant section:
1) Clean your Bike
2) Lubricate the Moving Parts
3) Don't Keep it Loose.
4) Buy the Essential Tools.
5) Service Regularly.
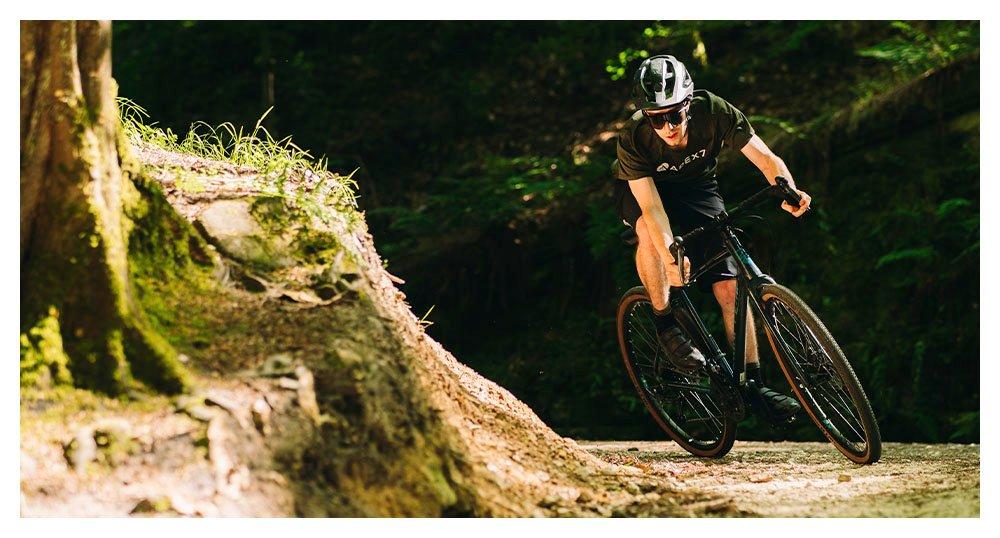
It doesn't matter if you're cycling on or off-road, sooner or later your bike will get dirty.
In hot, dry conditions, dust from the road or trail will infiltrate hard-to-reach nooks and crannies and bind to a lubricated chain and greased components. In the wet, mud will splatter everywhere and bake on to surfaces if allowed to dry.
The best time to clean your bike is just after a ride, before new dirt has a chance to dry. It may seem time-consuming to wash off muck at the end of every ride, but it’s far easier than scrubbing off several weeks’ worth of dirt! Filth can accumulate quickly too, particularly if mud mixes with oil and grease, so it’s important to keep on top of it.
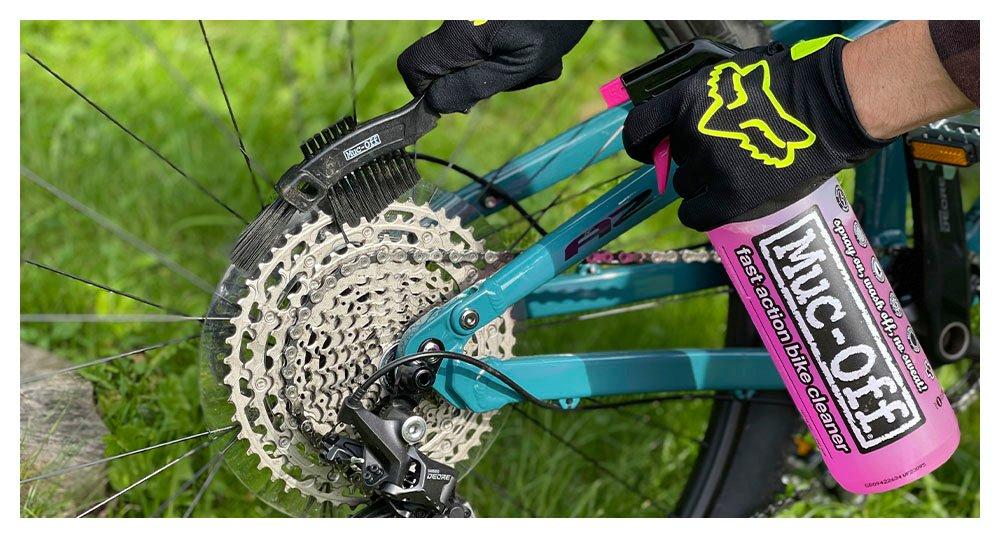
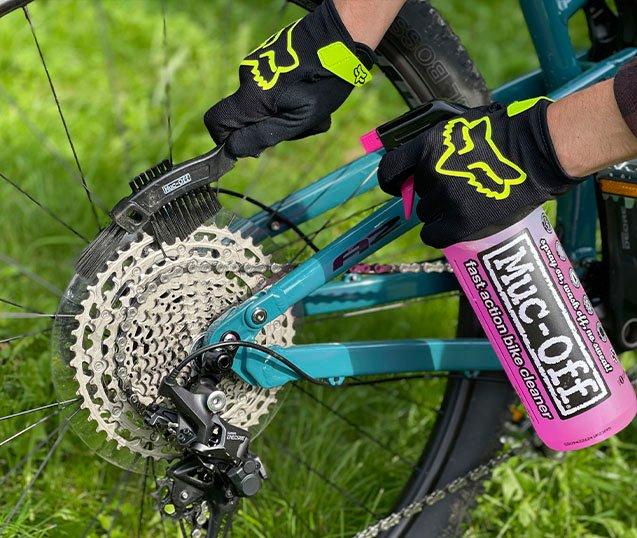
The GO Outdoors bike cleaning range includes a number of great products to make the process quick and easy.
Bike cleaners are specifically formulated detergents that are safe to use on precision components. They’re usually non-abrasive and supplied in easy-to-use spray bottles. Simply spray on, agitate the stubborn dirt with a brush and wash off. It's that easy.
Dirt sticks to oil and other lubricants, making it difficult to clean off. Degreasers are designed to break down the grease and loosen up the dirt clogged within it. This is particularly useful when dealing with drivetrain components such as chains and cassettes.
Brushes help dislodge muck, and there’s a range of cycling-specific ones on the market that will reach all the awkward nooks and crannies that dust and dirt call home.
Invest into a selection of brushes including a cassette brush and full chain cleaner systems – these clever little inventions clamp in place and clean between the chain links quickly and easily as you turn the cranks.
Pressure washers (sometimes known as power or jet washers) can help speed up bike cleaning by effortlessly blasting off stubborn muck. Many bike parks now have coin operated pressure washers on-site, but mobile versions are available too.
Take care when using them. It’s a good idea to use a low power setting, if possible, as too much pressure can result in dirty water being blasted into delicate areas (which could rust), such as the wheel hubs and bottom bracket.
Lubrication is important; regular oiling of the chain and greasing of other moving parts such as bearings and derailleurs not only reduces friction but can prevent corrosion too.
Depending on the conditions, chain lube can dry out or wash off over time, so it needs topping up on a regular basis. Even sparkling clean bike chains require lubrication to keep them moving smoothly and to protect them from corrosion.
If you’re not sure when it needs doing, squeaks and rattles are normally a good indication that some maintenance is overdue.
Simply squirting more oil onto your dirty chain isn't the answer. First, clean, then degrease, then displace any water with a product such as GT85 or Muck Off's MO94, and finally, dry the chain before applying new oil.
Since chain lube loses its effectiveness differently in different conditions, there are two main types of lubricant to choose from.
‘Dry’ doesn’t refer to the consistency of the lube itself, it instead relates to the conditions for which it’s designed for. Dry chain lube is less viscous and sticky than wet lube so it’s easier to clean off your chain and offers superior drive train performance Vs "wet" lubricants. However, it is more likely to wash off when riding in wet conditions.
Thicker and heavier, wet lube lasts longer in wet conditions, but is harder to remove and clogs up quickly in dusty conditions.
Neither type is ideal for all conditions. Generally, it’s worth opting for dry lube during summer months and switching to wet lube when autumn arrives.
Another important part of a maintenance routine is component adjustment. Brake and gear cables will stretch as they are used, so regular tightening is required to keep them functioning at their best. Hydraulic brake and dropper seat post lines also need to be bled to remove air, which reduces effectiveness.
Brake pads for rim and disc brakes wear down over time too. To keep brakes responsive and maximise their stopping power, the callipers need to be brought closer to the braking surface. Adjusting your brakes compensates for pad erosion until the pads are eventually replaced.
It’s worth checking (and tightening) all bolts and screws around your bike as they can become loose from the bumps and vibrations caused by day-to-day riding. Do not over-tighten! Often a specific torque value will be inscribed next to a bolt, such as "5NM". A "Torque Wrench", which indicates the torque being applied to a bolt, is an inexpensive, but important, addition to any cyclist's tool kit.
Of course, if you’re not confident in your bike maintenance abilities, you can book your bike in for a service and have a technician carry out tweaks and repairs on your behalf.
Some people prefer to leave bike maintenance to the professionals, but there are some must-have tools for carrying out minor repairs and adjustments, particularly if you’re out on a ride.
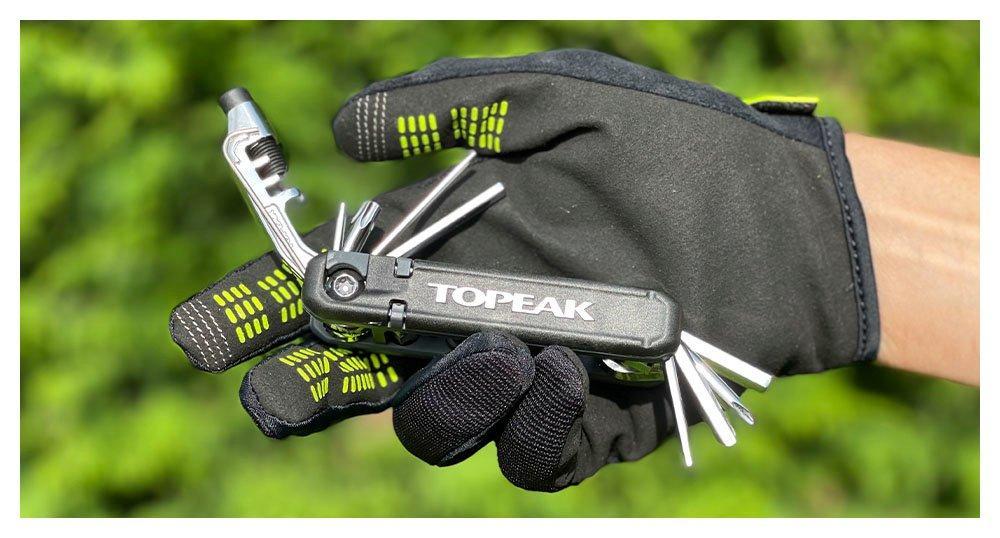
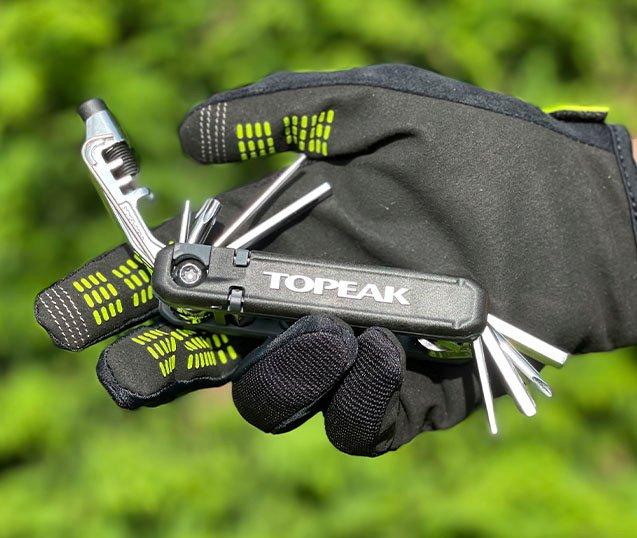
Almost every bike maintenance job can be performed with a humble multi-tool; whether it’s installing new parts, adjusting brakes, or simply tightening loose bolts. The best part is, they're small enough to take with you on the bike and kept handy for any problems that you may encounter along the way. Most Multi-tools will include Allen keys, Phillips and flat head screwdrivers, and a T25 Torx. Larger tools can include open spanners and a chain tool too.
If your chain breaks while riding, a chain tool is needed to replace the chain or a single chain link. It’s also an essential piece of kit for replacing a chain that has become rusty or worn. A "Chain Checker" can be used to determine if a chain has stretched and needs replacing.
Your dad probably showed you how to remove a tyre with spoon handles. You can leave your spoons in the cutlery draw - this inexpensive plastic tool does the same job without damaging the family silverware. Tyre levers help you to remove tyres from the wheel when replacing tyres or inner tubes. It’s certainly worth adding a couple to your bag.
Whether you’ve suffered a puncture or just need a quick top-up of air, a basic pump is essential for re-inflating bike tyres. Most cycling pumps are small enough to keep with you at all times and many of them can also be mounted to your bike frame using brackets and screws. Pressure gauges are available on some of the more expensive pumps.
Alternatively, you can opt for an electric pump or CO2 inflator for effortless inflation.
As a rule, always carry a spare innertube with you.
A puncture doesn’t have to be a death sentence for your innertube. Occasionally, bad luck comes in twos – we recommend carrying a puncture repair kit in case one spare innertube isn't enough.
Puncture repair kits are cheap to buy and small enough to keep in your bag for emergency use.
While a spot of DIY bike maintenance should ward-off most mechanicals, we also recommended getting your bike checked over by a professional at least once a year to make sure everything is as it should be.
It's often tempting to watch a "how to" Youtube video and give it a crack. But the DIY approach can be counterproductive to complicated jobs, such as realigning derailleurs, straightening wheels and servicing suspension. If you don't have experience with these jobs, they are best left to the pros.
Although we do not offer this service, if your bike has air-sprung suspension we recommend observing the manufacturer's service intervals. Fox recommends servicing its products every 125 hours of riding or yearly. SRAM recommends servicing its Rockshox products from 50 hours of riding time.
Bike check-up services are available in the majority of GO Outdoors stores, take a look at our bike servicing guide or ask in store for more information.